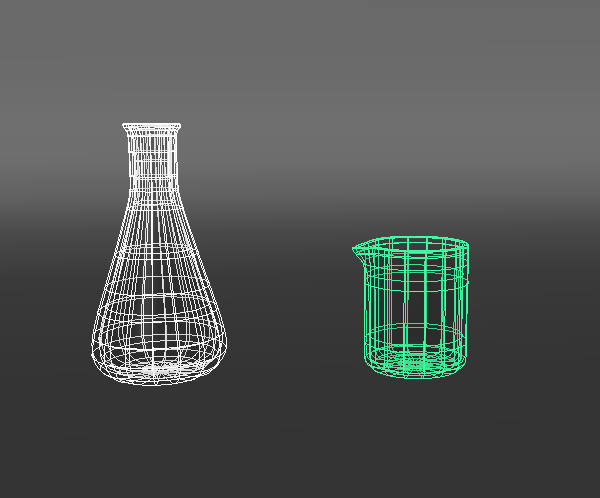
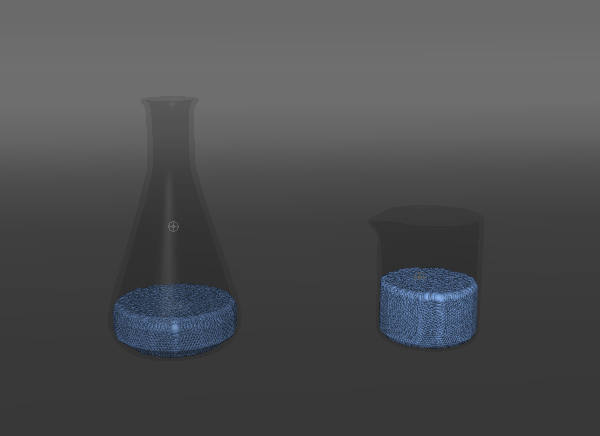
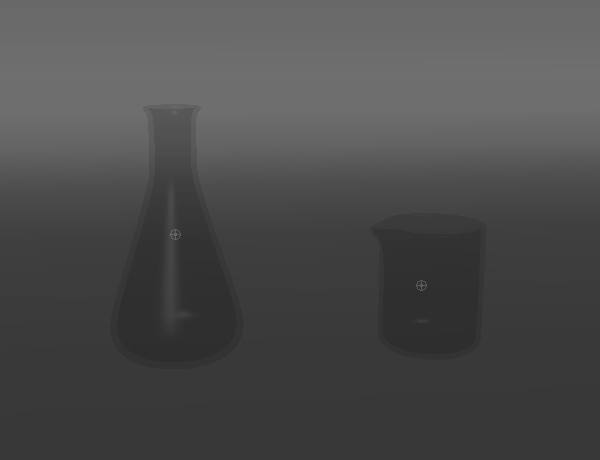
Step 31
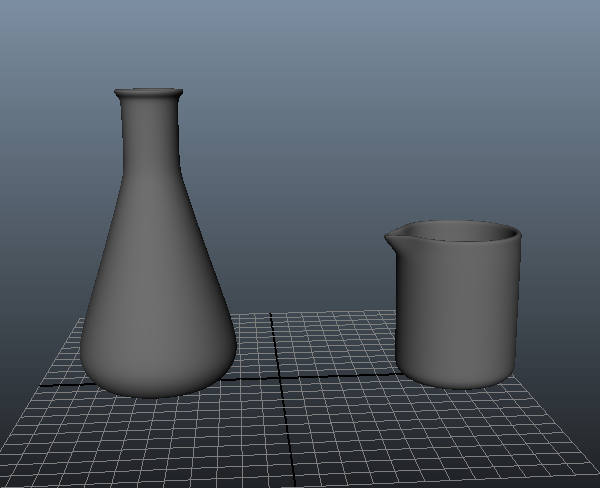
This is how both containers look.
Step 32
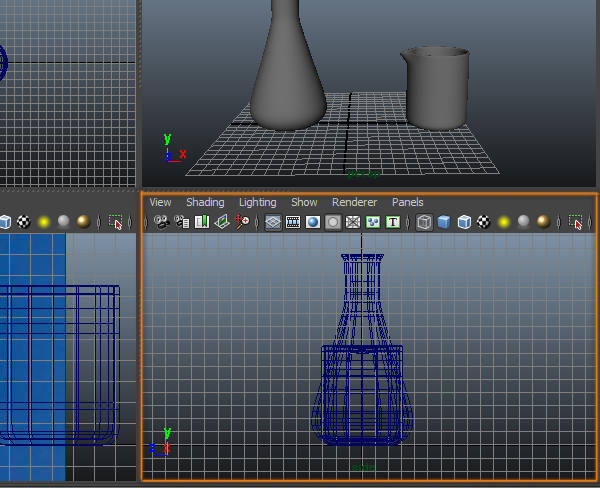
Make sure both containers are at the same distance from the floor.
Step 33
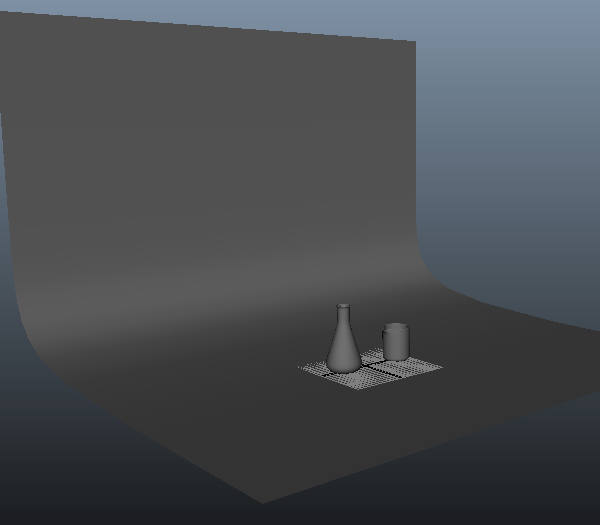
Create a background for our scene, any background can work.
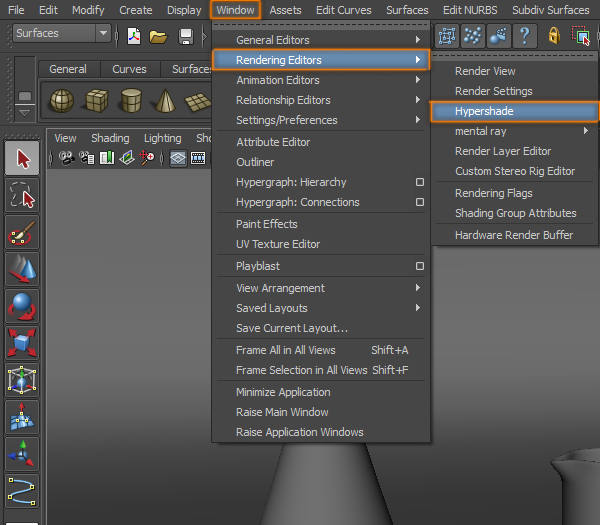
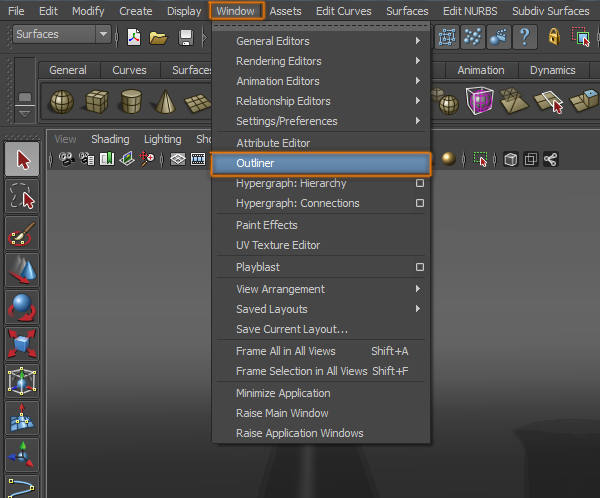
Step 34
Go to “Window > Rendering Editors > Hypershade”.
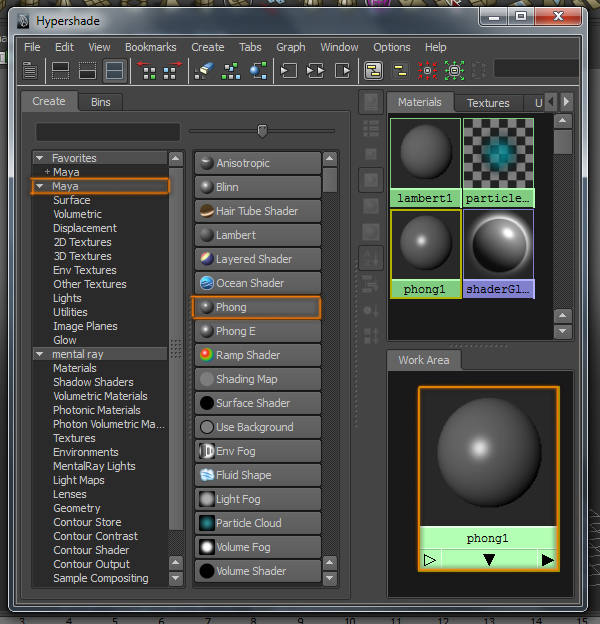
Step 35
Inside the Hypershade, create a new Phong material.
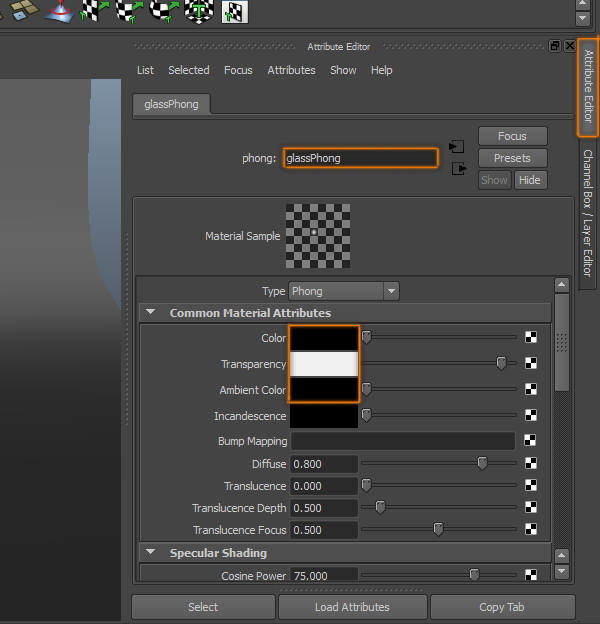
Step 36
Open the Attribute editor of the phong material, add a name to it, change the color to black, the transparency to a white grey and the Ambient Color to black.
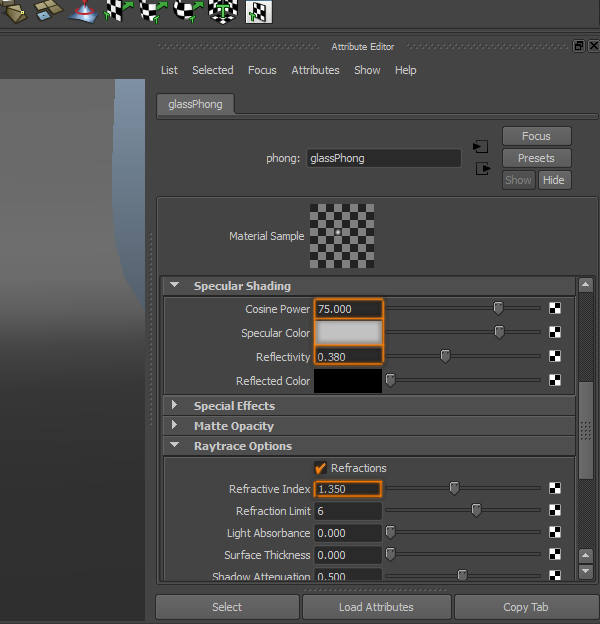
Step 37
Scroll down to the “Specular Shading” section. Change the “Cosine Power” to 75, the “Specular Color” to grey, and the “Reflectivity” to 0.380.
Step 38
Add that phong material to our containers.
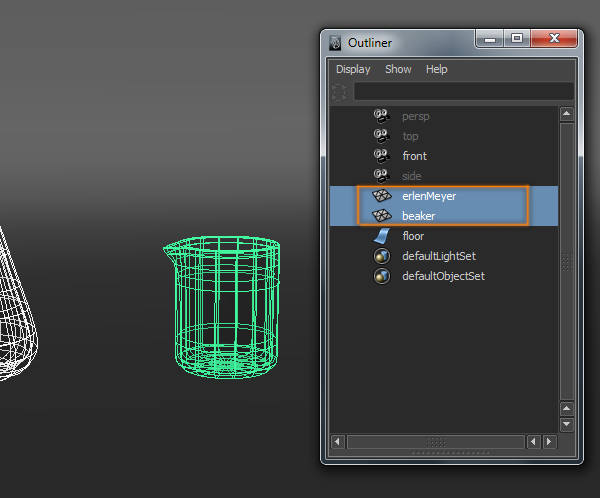
Step 39
Go to “Window > Outliner”.
Step 40
Name both containers. This is just to have an organized scene.
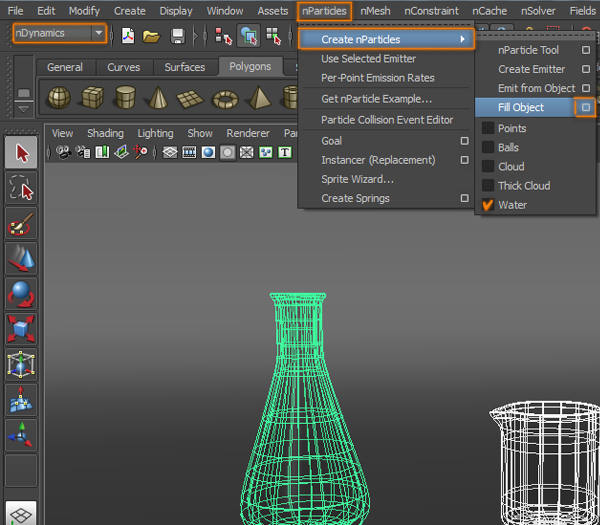
Step 41
Select both containers.
Step 42
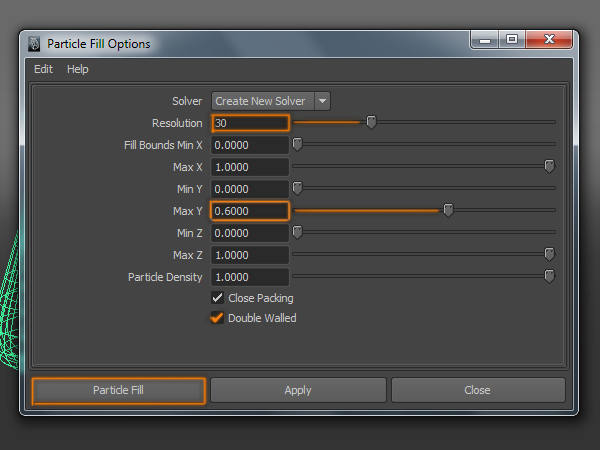
At the “nDynamics” menu, go to “nParticles > Create nParticles > Fill Object (option box)” make sure “Water” is selected”.
Step 43
A window with nParticles options will show up, increase the resolution to 30, and the “Max Y” to .6, make sure “Double Walled” option is checked. (the “Max Y” option determines how full the container is, note that the water will compress, so this value will be at least half).
Step 44
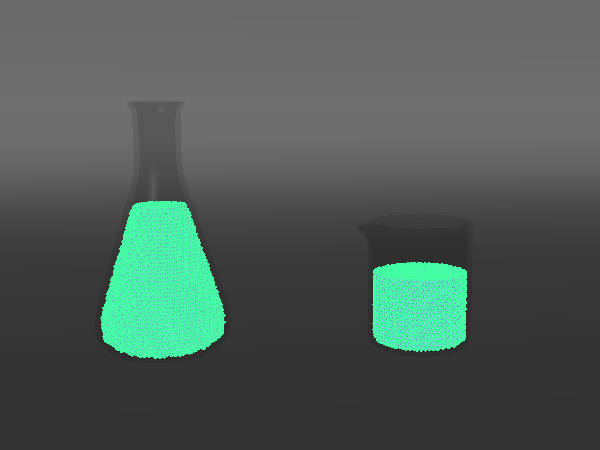
When you click on particle fill, both containers should have the same particle system inside.
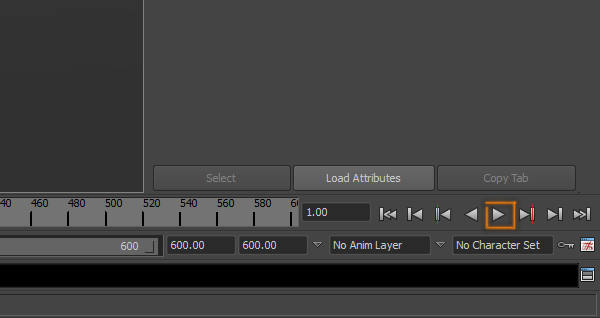
Step 45
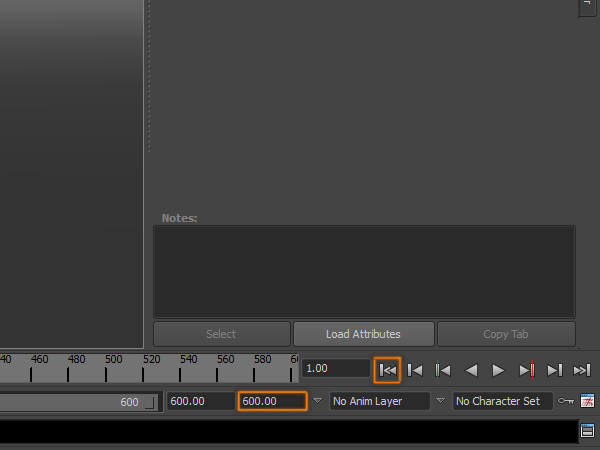
Make the scene at least 600 frames long, and rewind the animation.
Step 46
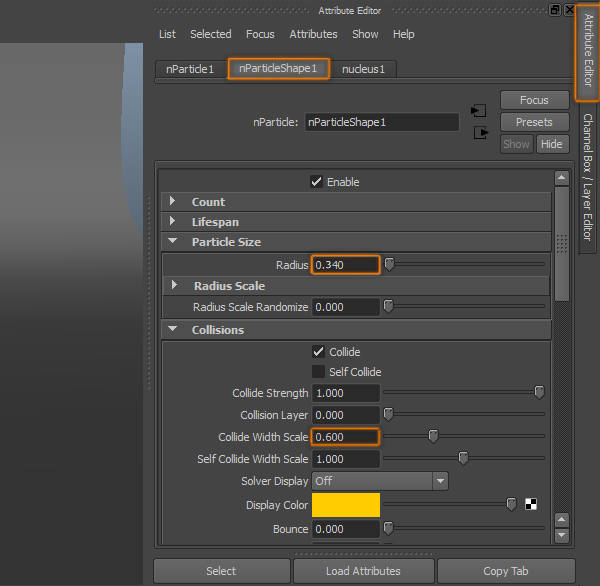
Select the nParticle system, go to its Attribute editor, increase the “Radius” to .340 (this will vary depending on the size of your scene), under the “Collisions” section, change the “Collide Width Scale” to 0.600, this will compress the particles creating more realistic water.
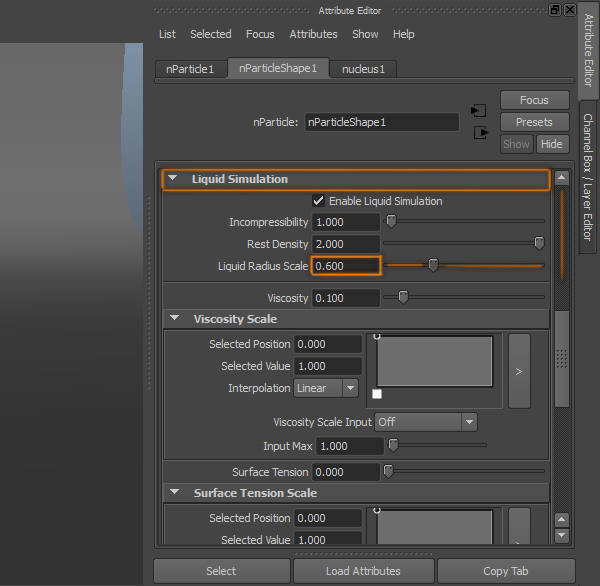
Step 47
Scroll down to the “Liquid Simulation” section, and change the “Liquid Radius Scale” to 0.600.
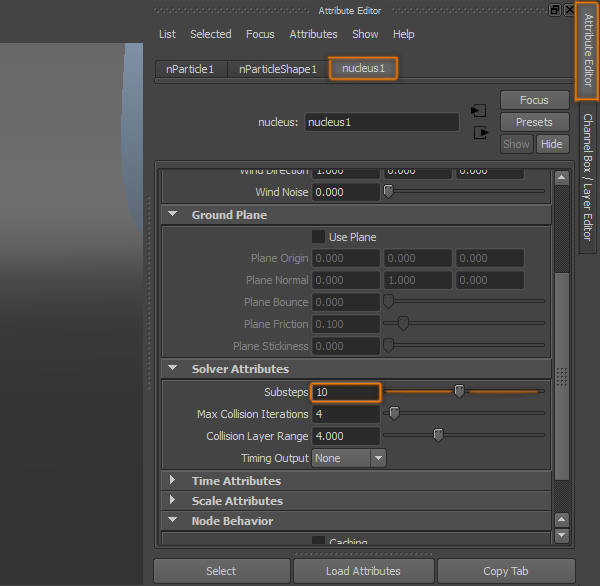
Step 48
Go to the nucleus options, and increase the “Substeps” to 10.
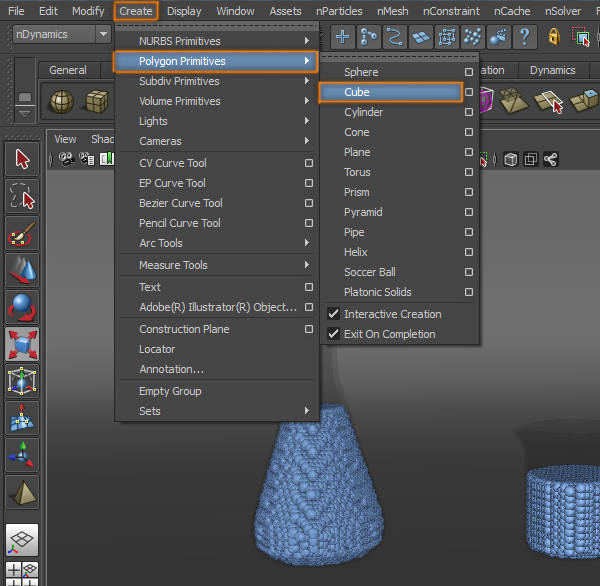
Step 49
Go to “Create > Polygon Primitives > Cube”.
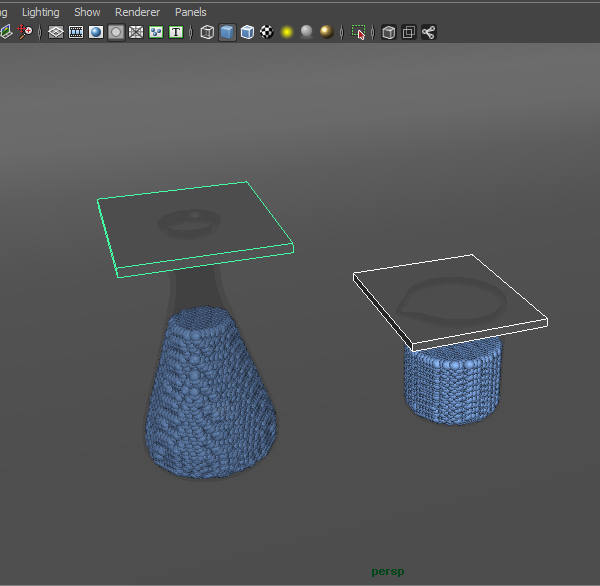
Step 50
Create 2 cubes and move them on top of our containers, they will act as a cap, for the water not to go out of the containers.
Step 51
Select both containers and caps.
Step 52
At the “nDynamics” menu, go to “nMesh > Create Passive Collider”. This will make the objects collide with the nParticle system.
Step 53
Play the animation (it will play really slow).
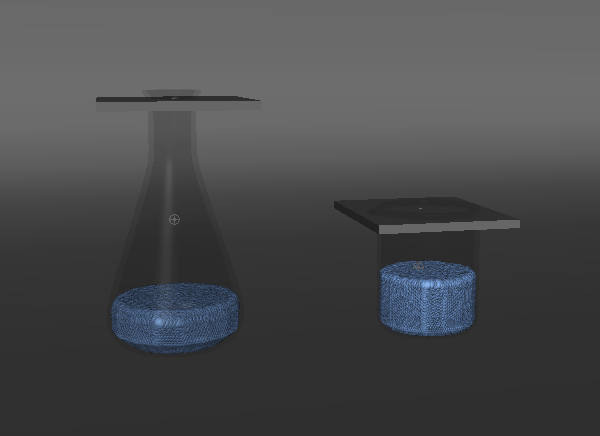
Step 54
Stop the playback when all particles settle down, and they are not moving. (Note particles compressed during the playback)
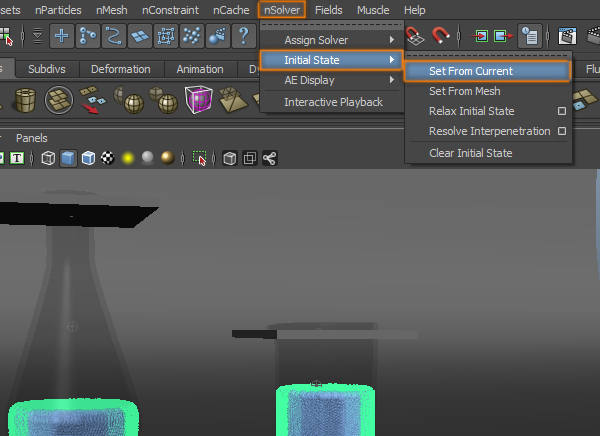
Step 55
Select the nParticle system, and go to “nSolver > Initial State > Set From Current”. This will make the water stay in the same position the whole animation, unless something interacts with it.
Step 56
Delete the cubes we created before.
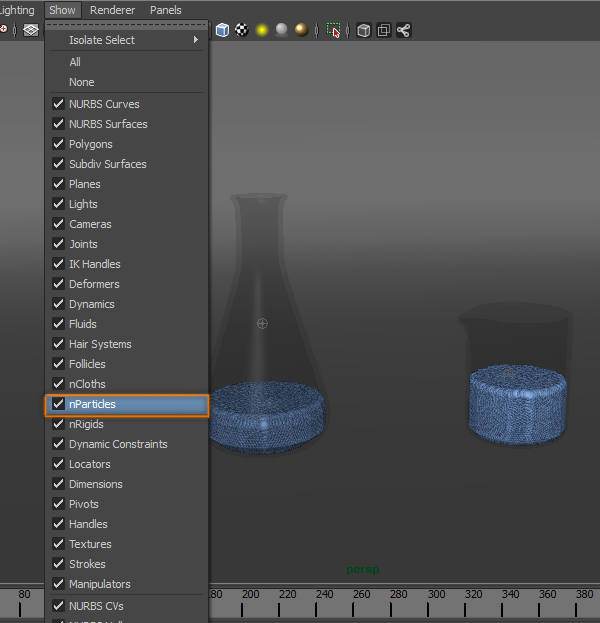
Step 57
At the view menu, go to “Show > nParticles (uncheck that option)” this will hide the water, and allow us to create the animation of the container faster.
Step 58
The water should not be visible.
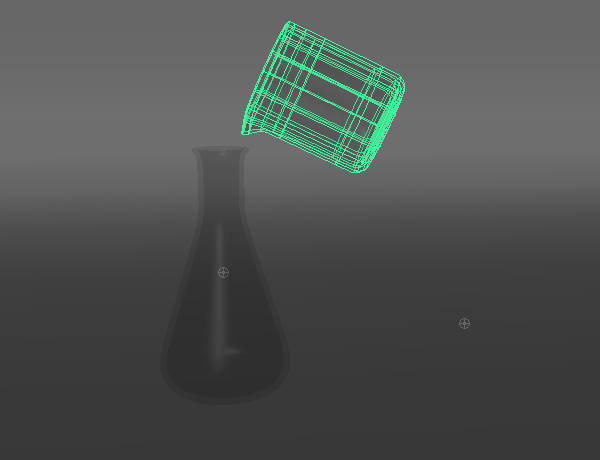
Step 59
Animate the container.
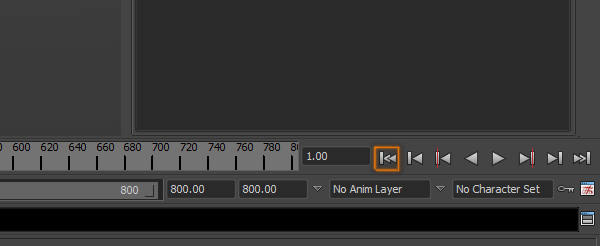
Step 60
Rewind the animation.
Step 61
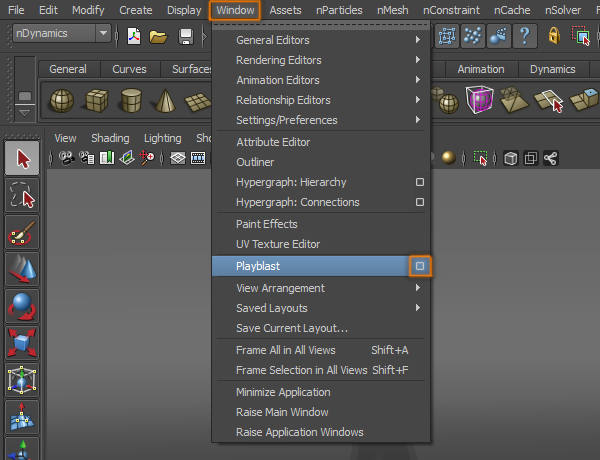
Make sure to make visible the water again, go to “Window > Playblast (option box)”
Step 62
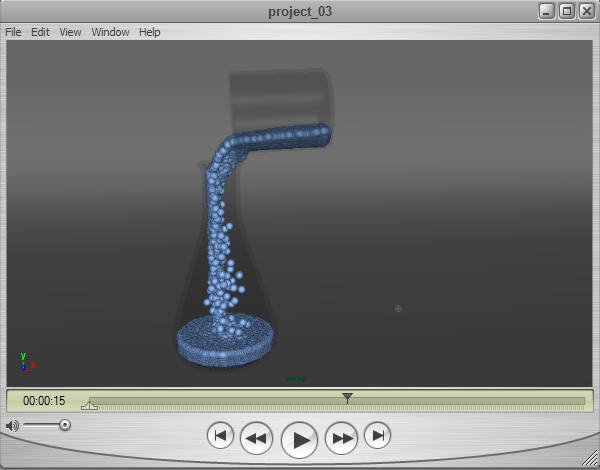
Select the time range where your animation takes place, and where do you want to save the file. Click on playblast.
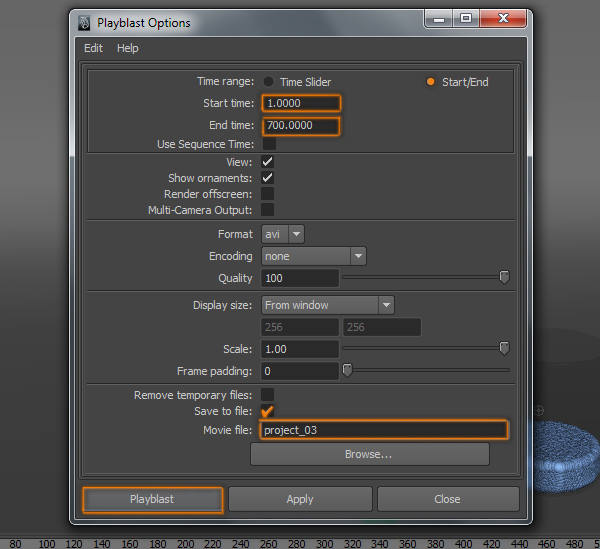
Step 63
This will create a file with the animation. Check that the water is doing what you want it to do. If not, adjust the container animation and do another playblast. I did 10 playblasts before I liked the animation.

No comments:
Post a Comment