Creating A Halftone In MayaThis tutorial will teach you how to create a halftone pattern effect inside Maya.Set-upFirst, open the object you want to assign the shader to.Set the camera's background color to gray so the effect can be viewed easily. Create a directional light in the scene. It should be shining downwards from behind the camera. 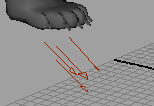 ShaderStep one - Select your model. Step two - Go to the Toon shelf. Step three - Create a threeToneBrightnessShader. 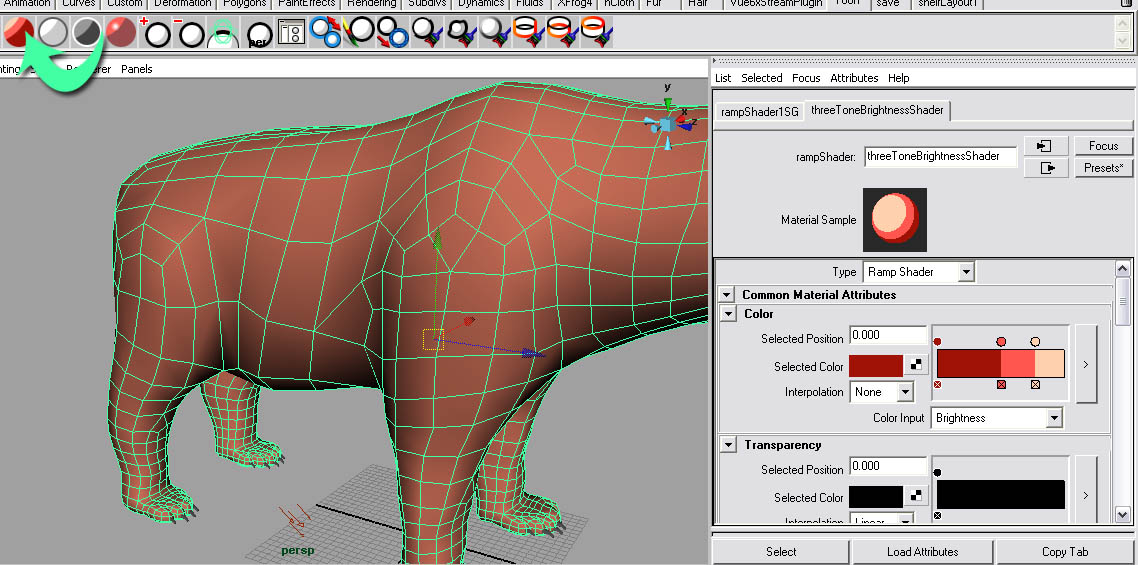 Step four - We need to change the color ramp. Set the first color to white and the last color to black. Don't bother with the second color because we'll be assigning a texture to that later. 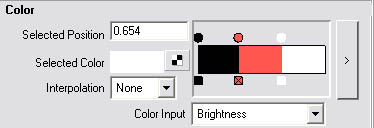 Step five - Set the interpolation to spline on all of the colors. 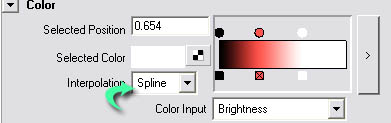 Step six - On the center color, connect the texture. Check "as projection" and select bulge. 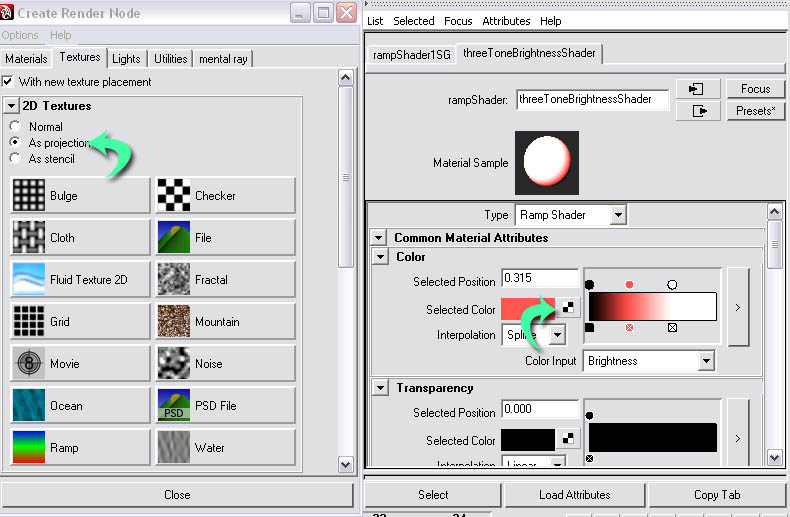 Step seven - Set the proj type to perspective. Set the link to camera to perspShape, and fit type to match camera resolution. Now the texture's projection is based on the camera, not the UVs. 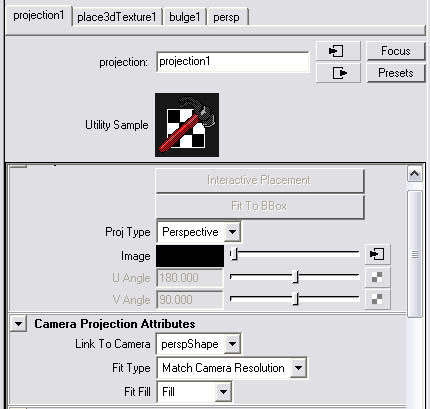 Step eight - Click over to your bulge texture. 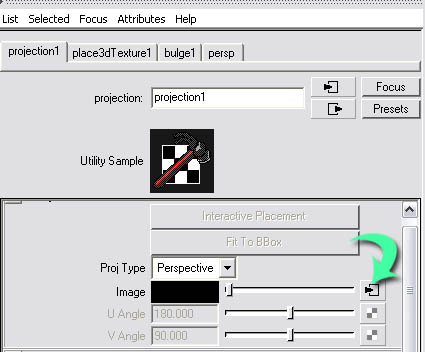 Step nine - Set the U and V width to .3 . Also, roll down to effects and check invert. 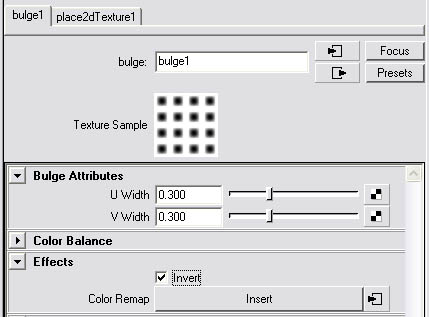 Step ten - Go to the place2DTexture node. 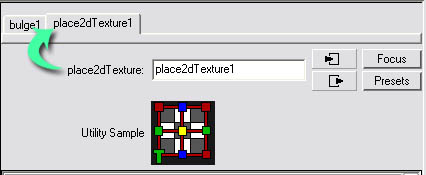 Set the repeat U and V to 80. 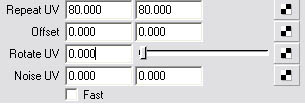 Now render. 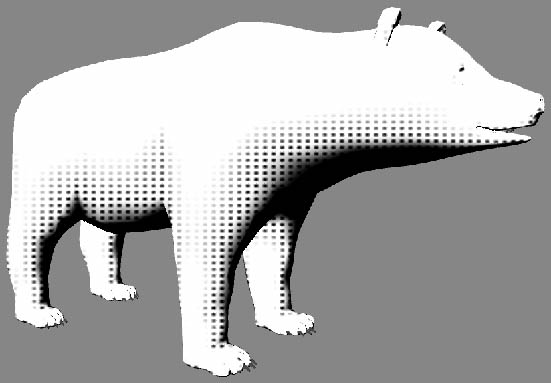 You can tweak the shader by adjusting where the color points are on the ramp, also adjusting the light angle. 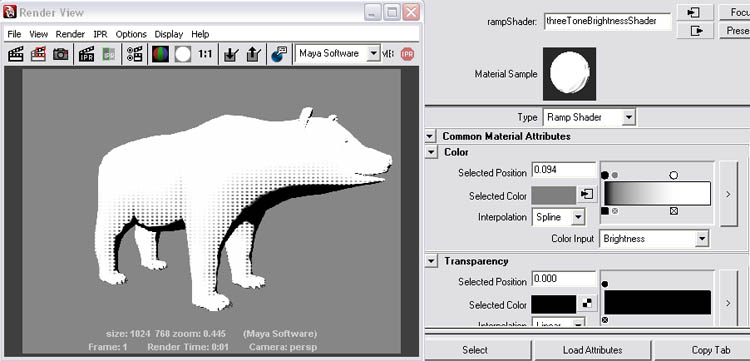 Good luck. |
Sunday, December 12, 2010
Autodesk Maya: Lighting and Rendering
Subscribe to:
Post Comments (Atom)
No comments:
Post a Comment