Creating Natural Light
In this tutorial I'll teach you how to make a light rig that will generate a nice, clean, soft overall light that's tinted green.Paint Effects
normally you don't use paint effects to light a scene, but here's an exception. We're going to use paint effects to generate a picture which will then be assigned to a sphere and sampled for Final Gather.
We're going to have to adjust the interface. Also, we're going to have to display the paint effects canvas.
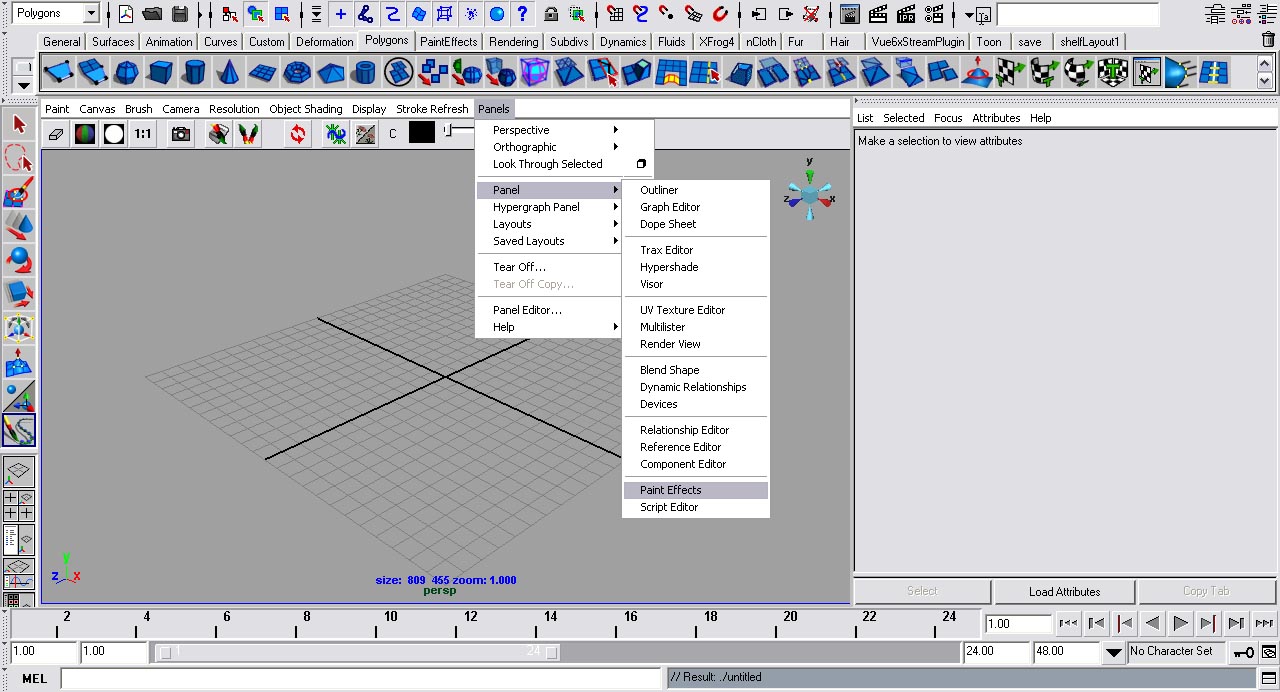
Step one - On the view port menu bar, go to panels>panel>paint effects.
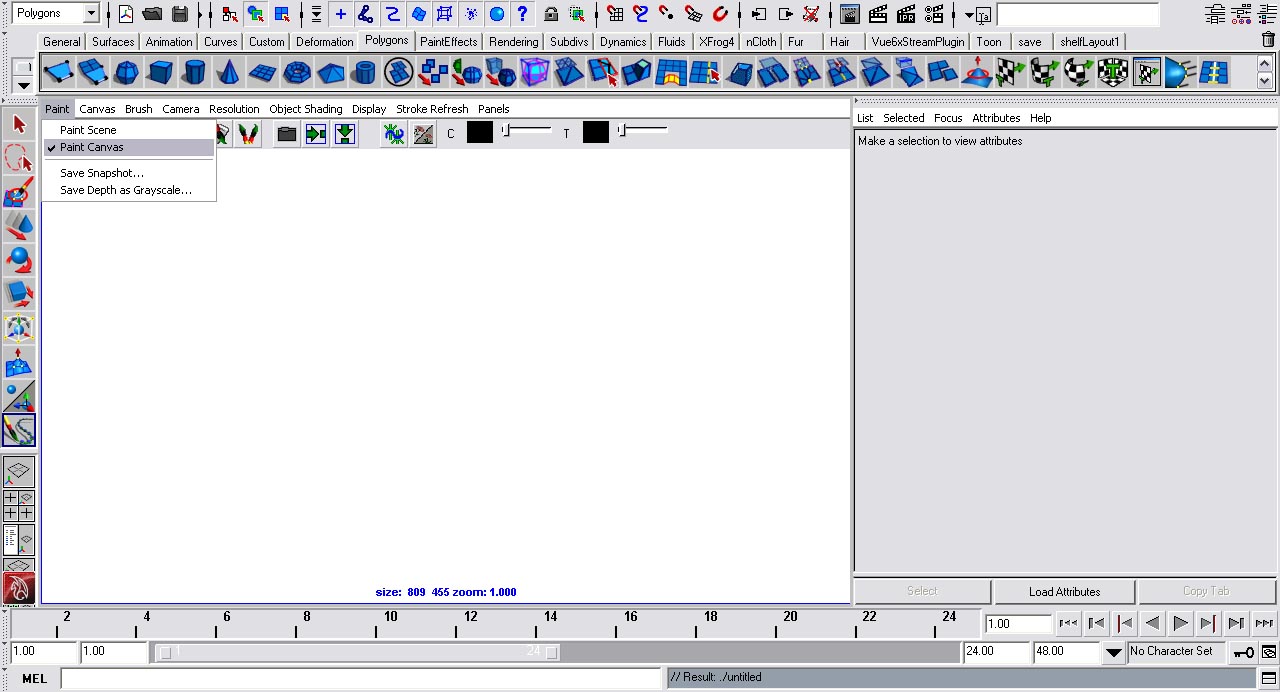
Step two - Still on the view port menu bar, go to paint>paint canvas.
Step three - Set the shelf to paint effects.
Painting
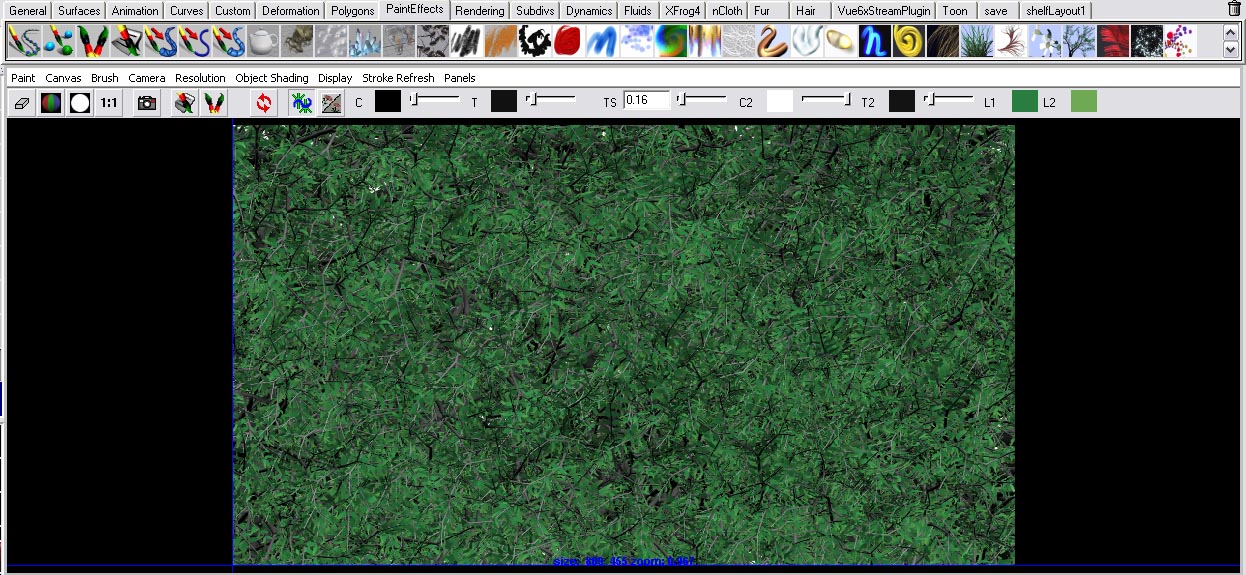
Select the tree brush on the shelf.Basically what we're going to do is scribble all over the image until it's completely covered with trees.
We're going to erase one third of the top of the image. To get the Erase Paint Effects brush, open the visor.

Go to the folder Airbrush and select the erase brush. The erasing doesn't have to be even or 100% accurate.
Now we're going to add clouds to where we erased our background. Still in the visor, go to the clouds folder and select the Cumulus Cloud Brush. Draw a couple of clouds in the white area.

Now that we have our image, on the Paint Effects Canvas menu set, go to paint>save snapshot. Save the file on your hard-drive.
Step Back
I would like to step back here and explain how this same technique can be used to generate panoramic images that can be used in Mental Ray outside this tutorial.By just changing a couple of brushes (instead of a tree brush use a building brush), you can completely change the image you are creating. There's a tutorial on my website that can explain how to take that image into the mentalrayIblShape and then use it to generate light. But in this tutorial we're using it to generate Final Gather.
Setting Up The Scene
Of course, we're going to create a new scene all together.Step one - Create a polygonal plane by going to create>polygonal primitives>plane. Scale it large enough so it fits your scene.
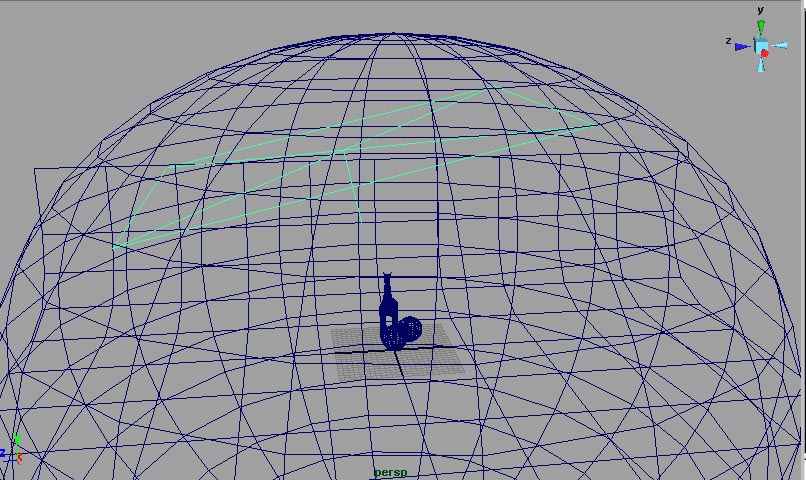
Step two - Create a sphere. Scale it larger than the plane. We'll be projecting our image we created on this.
Step three - Import any models that you want to light using this rig. For best results assign them to a Lambert shader.
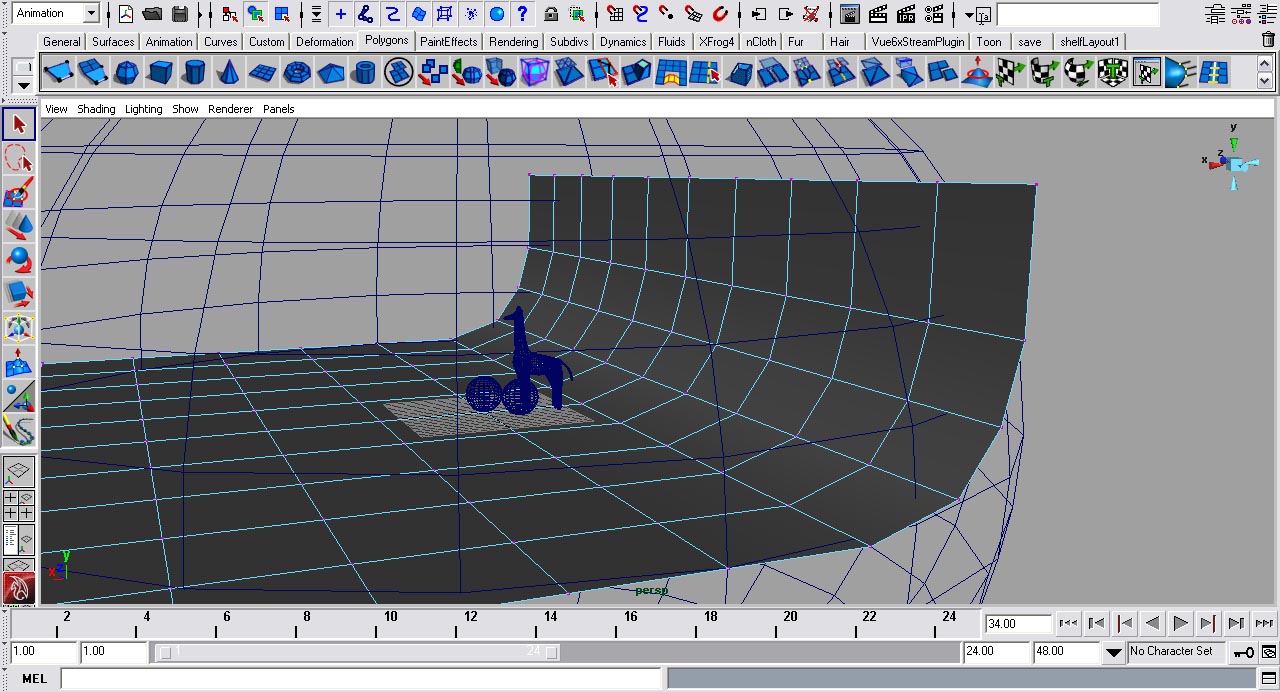
Step four - Select your polygonal plane, right click and hold and go to vertex mode. Move the vertex so it looks like the picture.
Render Settings
Getting the proper render setting is very important for getting this lighting tutorial to work. We'll be using Mental Ray as our rendering software.Step one - Open the Render Setting window.
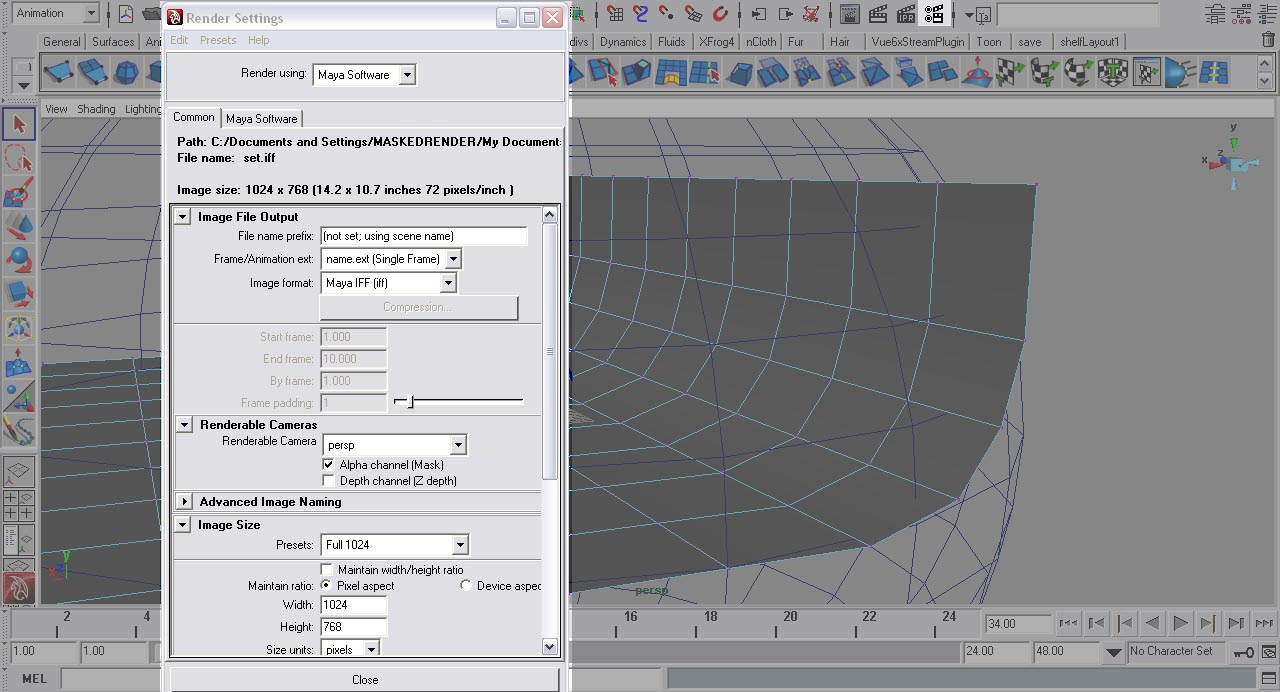
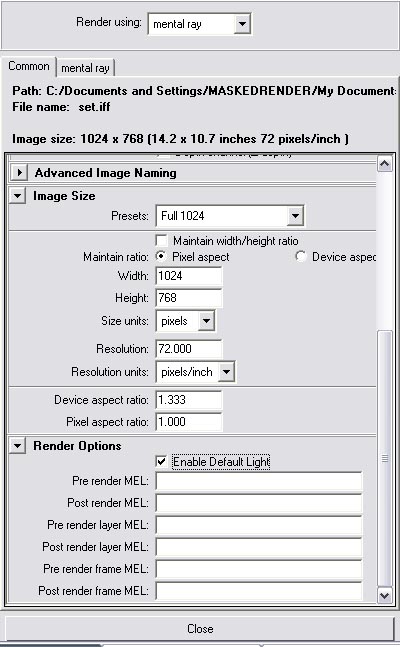
Step two - On the Common tab, go to the tag render options and uncheck Enable Default Lighting.
Step three - Set the Render Using attribute to Mental Ray.
Step four - Go to the Mental Ray tab and set the quality present to production. Under Secondary Effects, check Final Gather.
Step five - Roll down and find the Final Gather tag.
Step six - Set the accuracy to 200 and the point density to 1.
Step seven - Close the render settings window.
Setting Up The Sphere
We're going to create a custom shader for the sphere that has the paint effects image attached to it. Change the shelf to rendering.Step one - Select the sphere and create surface shader material from the rendering shelf.
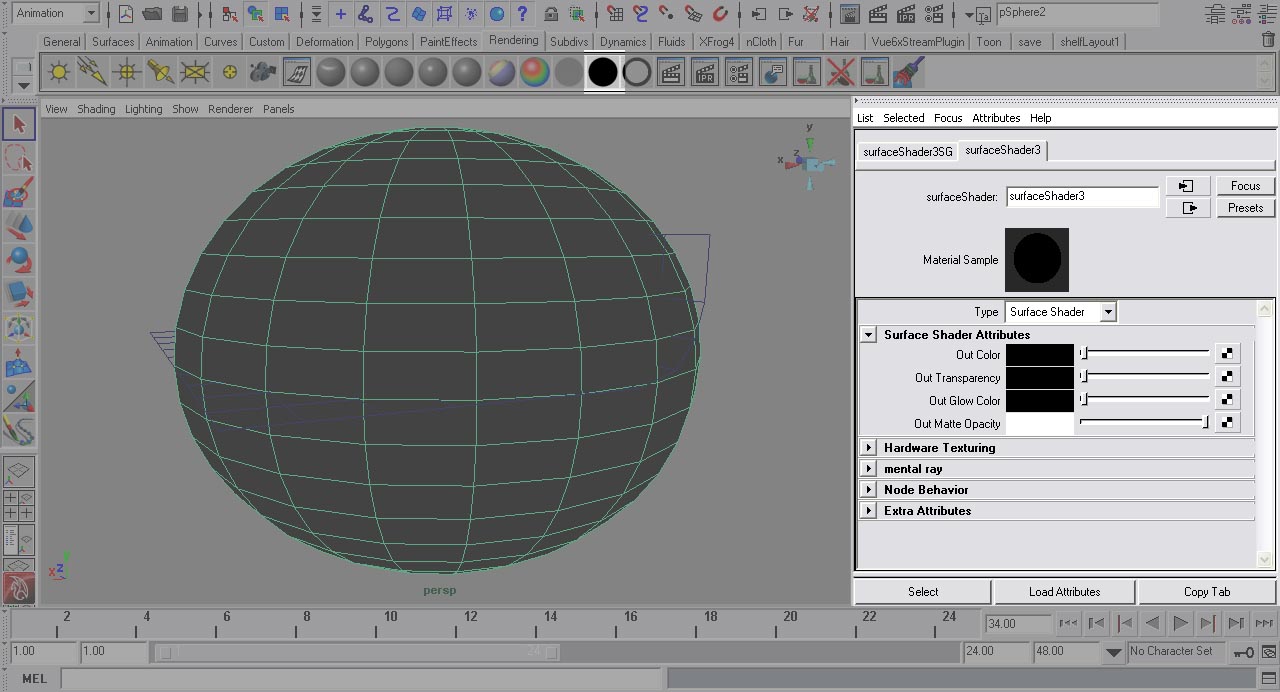
Step two - If this doesn't automatically open the attributes editor, open it now. Under the pShpereShape1 tab, roll down to render stats. Uncheck primary visible. Now go to the surfaceShader1 tab.
Step three - Click the checker icon beside the out color text. This will open the Create Render Node window.
Step four - With the Create Render Node window open, we're going to create a file node.
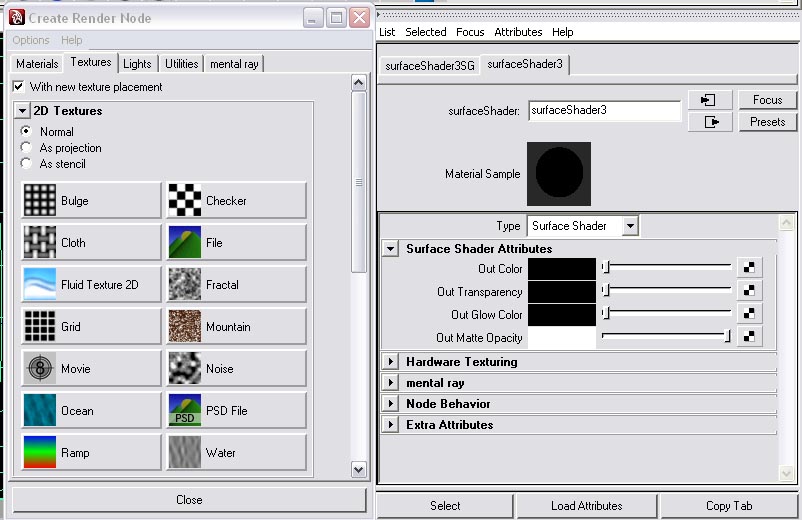
Step five - Beside the text Image Name, click the folder icon. Locate where you saved the paint effects image.
Step six - We're going to create a very large area light. Click the area light icon on the shelf.
Step seven - Scale and move the area light until it matches the image.
Setting The Area Light's Attributes
Select the area light and open the attributes editor (window>attributes editor).Step one - Set the color to a very light yellow. I set it to H=66.91, S=0.191, V=1.0.
Step two - Roll down until you find the tag Shadows and then raytrace shadow attributes.
Step three - Check use ray trace shadows. Set the shadow rays to 20 and the ray depth limit to 5.
Light Shape
This is what makes the area light create a soft and even light across the scene in Mental Ray.Step one - Find the tag Mental Ray and then area light In the area light's attributes.
Step two - Check use light shape.
Step three - Set the type to rectangle, the high samples to 100, the high sample limit to 40, and the low sample to 40.
Okay, all that's left to do is hit render.
Conclusion
This lighting rig is a great rig for showing off a product or a model. You can use this technique and fine tune it to your needs.
No comments:
Post a Comment